

Dishwasher circulation pump replacement is a practical DIY repair when you can fully shut off power, control water spills, and follow your model’s access steps. This guide helps you confirm the pump is really the problem, avoid common “false alarms” like clogs, and replace the circulation pump safely.
What the circulation pump does (and why it fails)
The circulation pump (also called the wash pump/motor) pushes wash water through the spray arms. When it’s not working correctly, you’ll usually notice:
- Dishes stay dirty even after a full cycle
- Spray arms barely move (or don’t move at all)
- You hear the machine running, but the “wash action” seems weak or absent
- Sometimes: humming, grinding, or rattling during wash (often debris-related)
Before you buy parts, rule out easy issues first—especially debris in the filter/pump area.
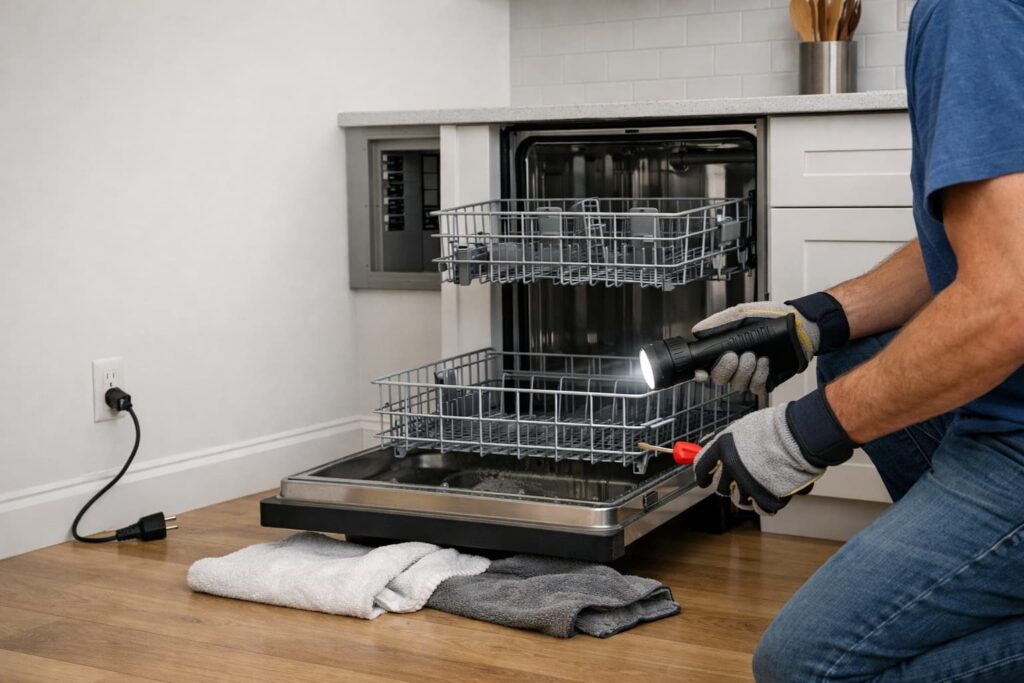
Safety first: do not skip this
Dishwashers combine electricity + water, so set up for safety before any repair.
Must-do safety steps
- Turn power OFF at the breaker (or unplug if corded).
- Don’t reach under the unit until you’re sure it’s de-energized.
- Expect water in the sump/pump area—plan to catch it.
- Reinstall all panels/covers before testing.
If your dishwasher is hardwired
Some dishwashers are hardwired (no plug). If you’re not 100% sure you’ve shut off the correct breaker—or you’re uncomfortable opening an electrical junction box—stop and call a qualified technician/electrician. Hardwired connections are a common point where DIY repairs go sideways.
These safety requirements are consistent across manufacturer guidance like Whirlpool service documentation and Bosch cleaning/care instructions:
Whirlpool Service Manual W11187658
Bosch Dishwasher Instruction Manual 9001353230_B
STOP and call a pro now if:
- You smell burning, see smoke, or find melted/scorched wiring
- The breaker trips repeatedly when the dishwasher runs
- You can’t confidently shut off power (common with hardwired installs)
- You have leaking you can’t quickly locate/contain (risk to floors and electrics)
Quick symptom splitter (so you don’t replace the wrong part)
Use this before you commit to dishwasher circulation pump replacement:
If it won’t drain / standing water remains
That’s more often drain-side (drain pump, drain hose, air gap/garbage disposal connection), not the circulation pump.
If it drains fine but doesn’t clean / spray arms don’t spin
That’s more often circulation-side—but clogs and debris are still the first check.
If you hear grinding/rattling during wash
Often a foreign object (glass, bone, labels) in the pump/filter area.
Confirm it’s circulation (not a fill or drain problem)
Before you commit to dishwasher circulation pump replacement, confirm the dishwasher is actually filling and draining normally.
- If the tub never fills enough to wash, you may have a water supply/fill issue (valve closed, kinked supply line, inlet screen restriction, etc.).
- If the unit drains poorly or leaves water behind, that’s often drain-side, not circulation.
- If the unit fills and drains but wash action is weak, that’s when circulation troubleshooting makes the most sense.
If your dishwasher shows an error code, check your manual/service sheet—error codes can point you away from the pump and toward a sensor, control, or wiring issue.
Tools and supplies (keep it simple)
- Towels + shallow pan/tray
- Gloves + flashlight
- Screwdriver/nut driver set (varies by model)
- Pliers (for hose clamps)
- Painter’s tape + marker (labeling)
- Phone camera (photos before disconnecting anything)
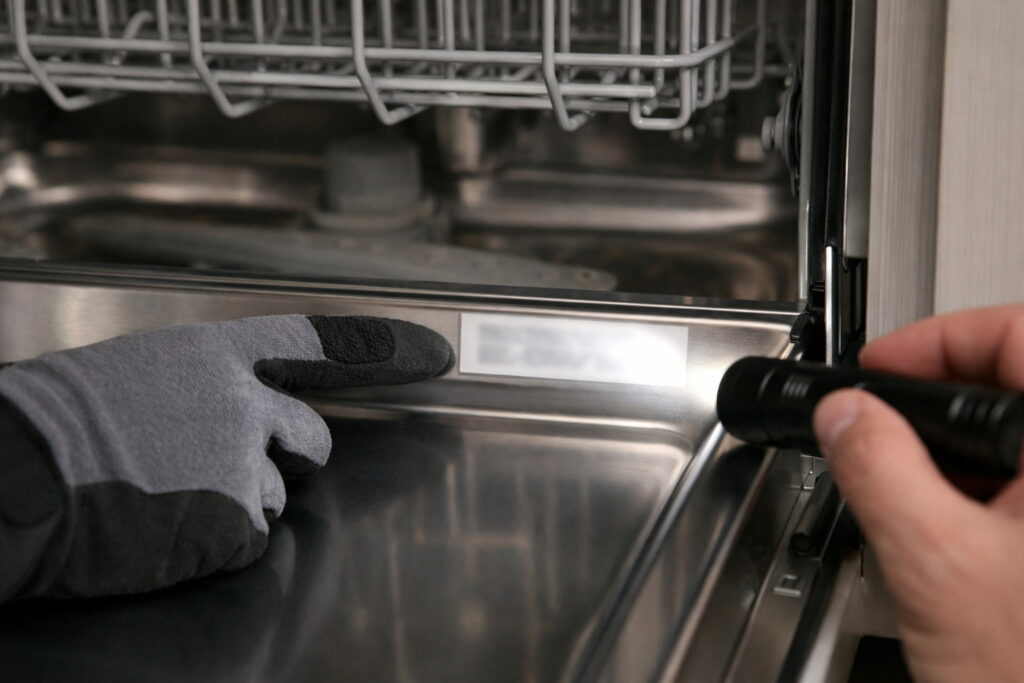
Find your model number before ordering parts (don’t skip)
Before you buy a circulation pump, find your dishwasher’s model number (and sometimes the serial number). Parts and pump styles vary widely—even within the same brand.
Common places to look:
- Along the inside edge of the door (top or side)
- On the tub frame around the door opening
- Behind the toe-kick on some installs
- Inside the owner’s manual or on the original purchase sticker
Once you have the model number, use the manufacturer’s official parts lookup (or your manual/service sheet) to confirm the exact pump/motor assembly for your unit.
Do these 2 checks before you replace anything
1) Clean filters and check the pump area for debris
Many “bad pump” symptoms are just restricted flow.
A safe pattern shown in Bosch’s instructions is: power off → remove filters → remove water if needed → access pump area carefully. Use your model’s exact method, but keep the same safety mindset.
Bosch Dishwasher Instruction Manual 9001353230_B
If you hear humming, grinding, or rattling, focus your inspection on the pump inlet/impeller area (the part that actually moves water). Small objects (glass bits, labels, seeds) can jam or partially block flow. Remove debris carefully—don’t force parts or pry plastic housings.
Video (helps you avoid an unnecessary part swap):
Shows how to safely access/clean the pump area (power off, filter removal, careful access) before replacing parts.
1A) Check spray arms for clogs (fast and often overlooked)
If filters are clean but wash still seems weak, pull the spray arms (if your model allows) and check the spray holes for debris or hard-water grit. A clogged spray arm can mimic circulation problems because water can’t exit properly.
After cleaning, spin each spray arm by hand to confirm it rotates freely and isn’t hitting tall items or a loose rack wheel.
2) Treat “no circulation” as a diagnosis, not a guess
Some models provide service diagnostics that can confirm a circulation fault. GE’s technical guide treats “No Circulation” as a structured troubleshooting path (useful even if you don’t own GE, because it reinforces “verify first”).
GE Appliances Technical Service Guide 31-9256
Video (quick visual on a common cause):
Explains how a blocked pump inlet can cause poor wash performance—helpful for confirming the problem before replacing the pump.
Dishwasher circulation pump replacement: step-by-step (safe, generic workflow)
Access varies by brand/model, but the safest workflow stays consistent.
Step 1: Shut off power and water
- Turn power OFF at the breaker (or unplug).
- Turn off the dishwasher’s water supply valve if you’ll pull the unit out.
- Put towels down and set a tray under the front.
Step 2: Remove the toe-kick / lower access panel
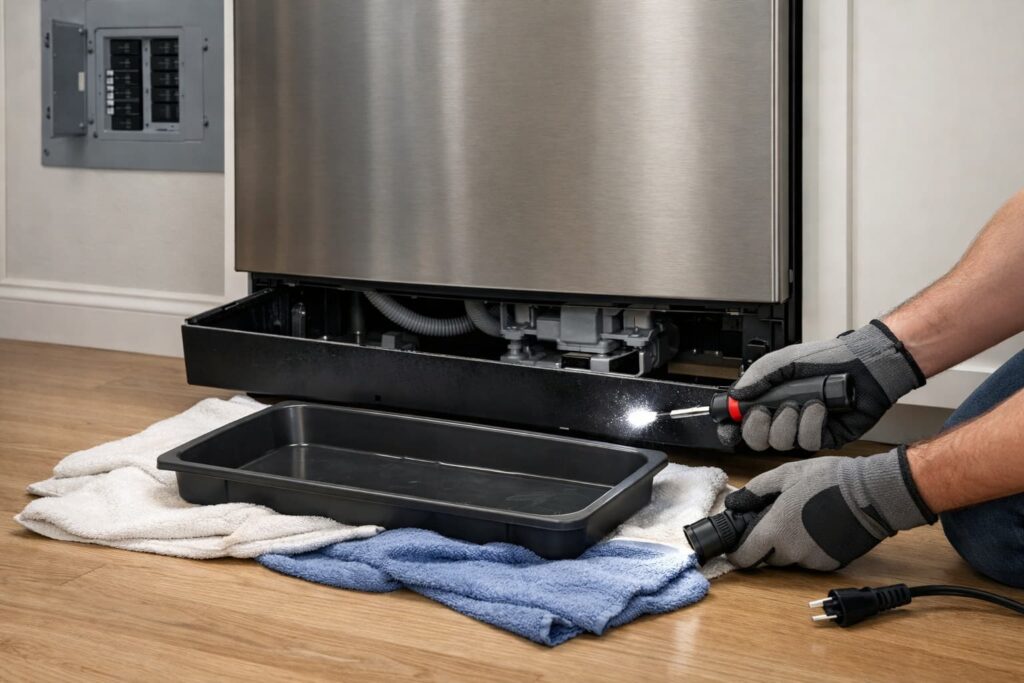
This exposes the underside area and helps you spot leaks during testing later.
Hardwired warning: If your model is hardwired and you’re not comfortable verifying wiring safely, stop and call a technician.
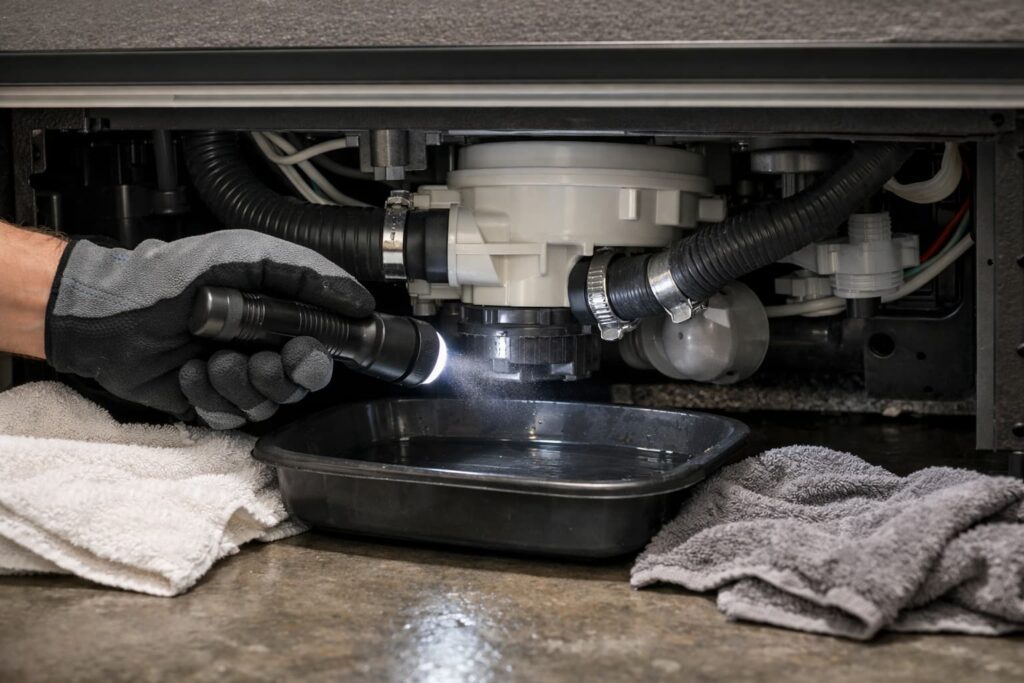
Step 3: Prepare for water spills
Even if the dishwasher drains, there’s usually water sitting in the sump/hoses.
- Use a shallow pan and towels.
- If you must open any internal pump access, remove water first (scoop/absorb) per your model’s guidance.
Step 4: Pull the dishwasher out (often required)
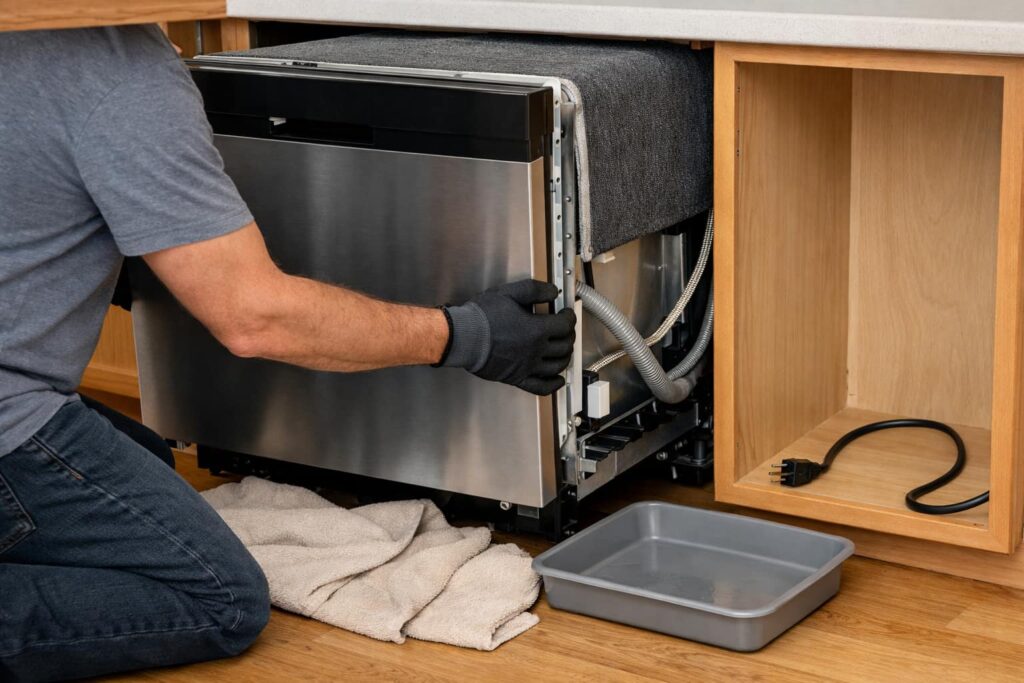
Many circulation pump replacements require underside access.
General approach:
- Remove mounting screws/brackets (usually at the top/side of the tub opening).
- Slide the unit forward carefully.
- Don’t kink the water line or strain the drain hose.
Some service procedures explicitly call for removing the dishwasher from the cabinet and positioning it for underside work.
Whirlpool Service Manual W11187658
Step 5: Identify the circulation pump/motor assembly
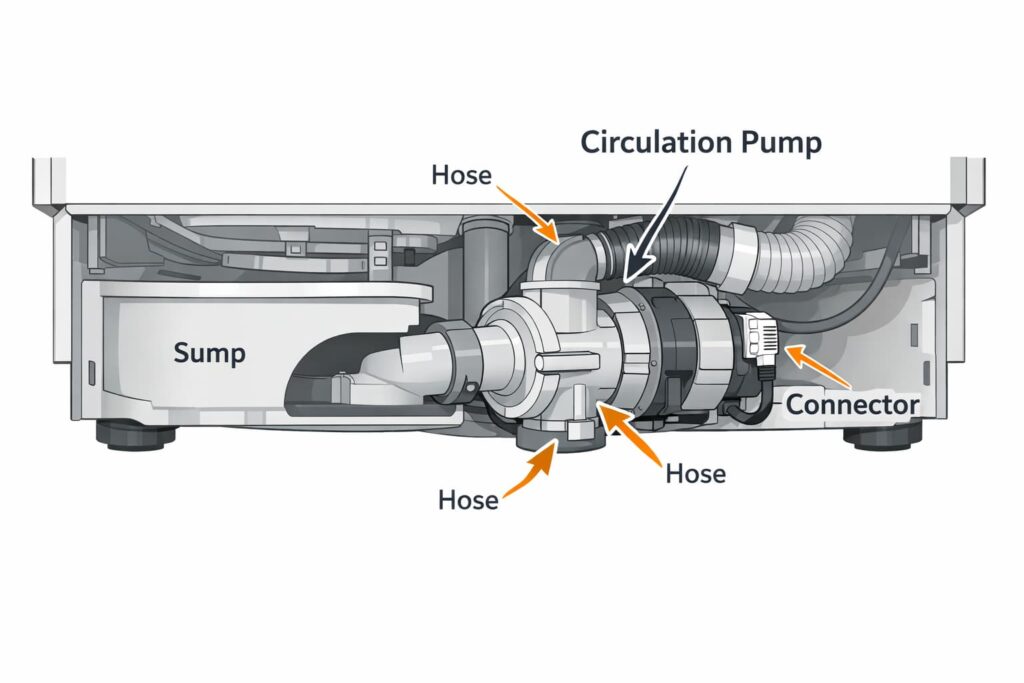
The circulation pump is typically attached to the sump assembly under the tub and connects to:
- Hoses feeding the wash path
- Electrical connectors to the motor/control system
Note: Some dishwashers use an integrated circulation pump + heater assembly rather than a separate pump motor. Always match the replacement part to your model number and parts diagram before ordering.
Tip: Take clear photos of hose routing and connector positions before disconnecting anything.
Step 6: Disconnect electrical connectors (label as you go)
- Confirm power is OFF.
- Label connectors if there are multiple similar plugs.
- Pull connectors straight—avoid yanking wires.
Step 7: Remove hoses/clamps (expect water)
- Loosen clamps slowly and aim hoses into your pan.
- Keep towels under the sump area.
Step 8: Remove the pump assembly
Attachment methods vary (twist-lock, screws, clamp ring).
Do not force plastic tabs or housings. If it won’t release, re-check the model-specific release method.
Step 9: Install the new pump and check the seal
- Seat the pump evenly.
- Ensure any gasket/O-ring is properly placed and not pinched.
- Reconnect hoses and clamps firmly (snug, not crushed).
Step 10: Reinstall the dishwasher and reassemble fully
- Slide the unit back carefully without kinking hoses.
- Re-secure mounting hardware.
- Reinstall toe-kick/access panels and any insulation.
Step 11: Leak-check first, then performance-check
- Turn water back on.
- Restore power.
- Run a short cycle while watching underneath.
If you see dripping: stop the cycle, cut power, and re-check clamp seating and the pump seal.
Leak-check checklist (2 minutes):
- Look for drips at hose clamps, pump seal/O-ring, and any sump connections
- Check the door corners for water tracking down to the toe-kick area
- Run your fingers along the underside edges (power off if you need to touch anything)
- If you see leaking: stop the cycle, cut power, and re-seat clamps/seals—don’t “let it run and see if it stops”
Video (official replacement walkthrough):
Whirlpool’s step-by-step demo shows a safe workflow for replacing the pump motor/housing and reassembly before testing.
Common mistakes that cause repeat leaks or repeat teardowns
- Skipping the filter/pump-area debris check first
- Forgetting to photograph wiring and hose routing
- Pinching a gasket/O-ring during installation
- Testing with panels off (don’t—reassemble fully before operating)
- Forcing twist-lock tabs or plastic housings
If you replaced the circulation pump and it still won’t wash
If wash performance is still weak after replacement, check these common “next culprits” before tearing it apart again:
- Loose or misrouted hose under the unit (kinked, pinched, or not seated)
- Air leak at a seal/O-ring (can reduce pressure and cause drips)
- Spray arms still clogged or not rotating freely
- A diverter/valve issue on models that route water between spray zones
- A control/diagnostic issue (especially if there’s an error code or the motor never energizes)
At this point, using your model’s service diagnostics (if available) is usually the safest way to avoid replacing the wrong part.
When dishwasher circulation pump replacement is NOT the right fix
Even if symptoms feel “pump-ish,” these point elsewhere:
- Poor draining or standing water at the end (often drain-side)
- Intermittent behavior with error codes (needs model diagnostics)
- Electrical symptoms (burning smell, breaker trips, scorching)
GE’s technical guidance reinforces that “no circulation” troubleshooting can involve multiple components depending on what diagnostics show.
GE Appliances Technical Service Guide 31-9256
FAQs
1) What are the main signs I need dishwasher circulation pump replacement?
Poor cleaning with normal draining, weak spray action, and spray arms that don’t spin (after filters and pump-area debris are cleared) are common signs.
2) Can a clogged filter mimic a bad circulation pump?
Yes. A clogged filter or debris in the pump area can restrict flow and make the dishwasher “run” without washing effectively.
3) Do I have to pull the dishwasher out to replace the circulation pump?
Often, yes. Many models require underside access, which typically means sliding the dishwasher out of the cabinet.
4) Is it safe to DIY a circulation pump replacement?
It can be if you can fully shut off power, manage water safely, and follow the model’s access method. If it’s hardwired and you’re unsure, call a pro.
5) Why does my dishwasher hum but not clean?
A hum may happen when a motor struggles, a pump inlet is blocked, or debris jams the pump area. Clear blockages first before replacing parts.
6) Should I run the dishwasher with panels removed to watch the pump?
No. Reinstall covers/panels before operating—then inspect for leaks from the outside/underside.
7) What if the breaker trips after I replace the circulation pump?
Stop immediately, shut off power, and call a qualified technician/electrician. Repeated trips can indicate an electrical fault.
Conclusion
Dishwasher circulation pump replacement goes best when you follow the safe order: confirm power is off, rule out clogs and debris, verify it’s truly a circulation issue, then replace the pump carefully and reassemble fully before testing. If you run into electrical symptoms, hardwired uncertainty, or uncontrolled leaks, bringing in a pro is the safest move.